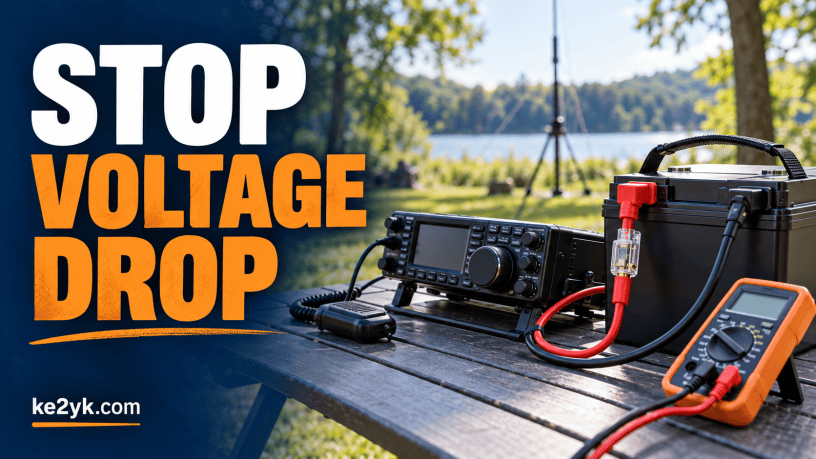
Follow these steps to give your rig steady power, protect your cables, and avoid trouble when you press PTT.
Your portable rig receives just fine. But when you call CQ, it restarts or shuts down.
The battery could be low. The power cable could also be losing too much voltage. This guide shows you how to set up portable ham radio power wiring, check each connection, and test your station before your next POTA outing, Field Day, or emergency drill.
What You’ll Need
- Your radio and battery manuals
- A DC voltmeter or multimeter
- Power cable sized for your station
- Matching connectors and the proper crimp tool
- A suitable fuse and fuse holder
- Heat-shrink tubing or covers for exposed connections
- A properly rated dummy load, if available
Disconnect the battery and all charging sources before working on the wiring.
Step 1: Find Your Radio’s Power Needs
Look in your radio manual for two numbers:
- Maximum current draw: How many amps the rig may use on transmit.
- Input-voltage range: The lowest and highest voltage the rig allows.
Use the maximum transmit current when choosing cable size. Receive current is much lower and won’t show what the cable must handle.
If the same battery feed powers other gear, add the current those items may use at the same time. Check the battery’s discharge-current rating too. A bigger cable can’t fix a battery that can’t supply the load.
Step 2: Measure Both Power Wires
Plan a short path from the battery to your rig. That length matters because current makes a round trip to the battery. Keep the battery close to the rig when you can. Route the cables where they won’t be pinched, or around rough edges.
Step 3: Choose the Right Cable Size
Use the Powerwerx wire-gauge calculator. Enter the circuit voltage, maximum current, and full round-trip wire length. Set the other options to match your setup.
The calculator helps account for voltage loss and wire heating.
Wire size is often marked AWG, which means American Wire Gauge. A lower number means a thicker wire. For example, 10 AWG is thicker than 14 AWG.
Don’t choose wire just because it fits a connector. Choose the wire for the load, then use the proper connector. A short lead for a QRP is very different from a long lead for a 100-watt radio.
Step 4: Make Secure Connections
Soldering connections is the preferred method, but in the field crimped connections is what we usually have to settle for. Be sure to use the proper sized connector and crimp tool.
Using the Anderson PowerPole system is the best method for making connections. Powerwerx sells the connectors and crimping tool for PowerPole system. See the video below for a “How To” with the Anderson PowerPole system.
Check that:
- The wire is firmly held in the contact.
- There are no loose strands.
- Contacts are fully seated in their housing.
- Exposed terminals are covered.
- Cables are supported to avoid strain on the contacts.
If you use Powerpoles, check their arrangement and polarity against the gear you’ll connect. Don’t assume every cable in your go bag is wired the same way.
Clean the battery connections and tighten them as the battery maker directs. Replace damaged or corroded parts. Bioenno Power’s LiFePO4 installation guide also calls for the correct cable size, good crimps, and clean, properly tightened terminals.
Step 5: Install the Fuse Near the Battery
Put the main fuse as close to the battery’s positive terminal as practical.
A fuse breaks the circuit when too much current flows. It helps protect the cable if a short occurs. The small piece of cable between the battery and fuse is still unprotected, so keep it short, covered, and safe from damage.
Choose the fuse and holder for:
- The wire’s safe current limit
- The station’s normal load
- The equipment maker’s instructions
- The battery system’s DC voltage and possible short-circuit current
Keep the factory radio-cable fuses as the radio manual directs. If you use a power distribution box, protect its main feed and each branch as needed.
Don’t install a larger fuse just because the correct fuse blows. Find the problem first.
Step 6: Check Polarity Before Powering Up
Before plugging in the radio, confirm that positive and negative go to the correct contacts.
Use your meter’s DC voltage setting to check the completed cable’s output. Match the reading and polarity to the radio’s needs.
Look for loose strands, uncovered terminals, and damaged insulation. Confirm that the correct fuse is fitted. Once those checks pass, connect the radio and turn it on.
Step 7: Test Voltage on Transmit
A receive test is only the start. Your rig draws much more current when you press PTT.
Use a properly rated dummy load if you have one. Start at low power, then test at the highest power you plan to use. Keep each test short and follow the radio’s transmit-time limits.
- Measure voltage at the battery terminals during transmit.
- Measure voltage at the radio’s DC input during the same kind of transmit test.
- Subtract the radio reading from the battery reading.
Example: If the battery reads 12.8 volts under load and the radio gets 11.9 volts, the power path is losing about 0.9 volt. Check the radio manual to see whether the voltage reaching the rig is allowed.
Secure the meter probes so they can’t slip or bridge two contacts. Never connect a meter set to measure current directly across the battery.
Step 8: Fix a Large Voltage Drop
If voltage falls at the battery terminals, check:
- Battery charge
- Battery condition
- The battery’s discharge-current limit
If battery voltage stays good but voltage at the radio falls, check:
- Long or thin cables
- Loose terminals
- Poor crimps
- Worn connector contacts
- Fuse holders and adapter leads
Voltage drop grows as current rises. That is why a weak connection may seem fine on receive and fail on transmit. Victron Energy’s DC wiring guide explains how cables, fuses, and connections add resistance to the power path.
Disconnect power before making repairs. Repeat the test under the same load after each change.
Step 9: Pack and Label Your Power Kit
Label cables with their wire size and length. Mark fuse ratings where you can easily read them.
Pack spare fuses of the correct type and rating. Cover the battery terminals so loose tools and other metal items can’t touch them.
Before each outing, check for damage and make sure the connections are secure.
The Bottom Line
A good portable power system uses cable that is short enough and thick enough for the load. It also needs solid connections and a fuse close to the battery’s positive terminal.
Test the whole station while transmitting before you leave home. When it’s time to call CQ, you’ll know your rig has already passed the test that matters.
Helpful Links
- Bioenno Power: RV Deep Cycle Battery Install Guide
- Powerwerx: Recommended Wire Gauge Calculator
- Victron Energy: Wiring Unlimited — DC Wiring
Follow Me on Mastodon
Discover more from KE2YK
Subscribe to get the latest posts sent to your email.

